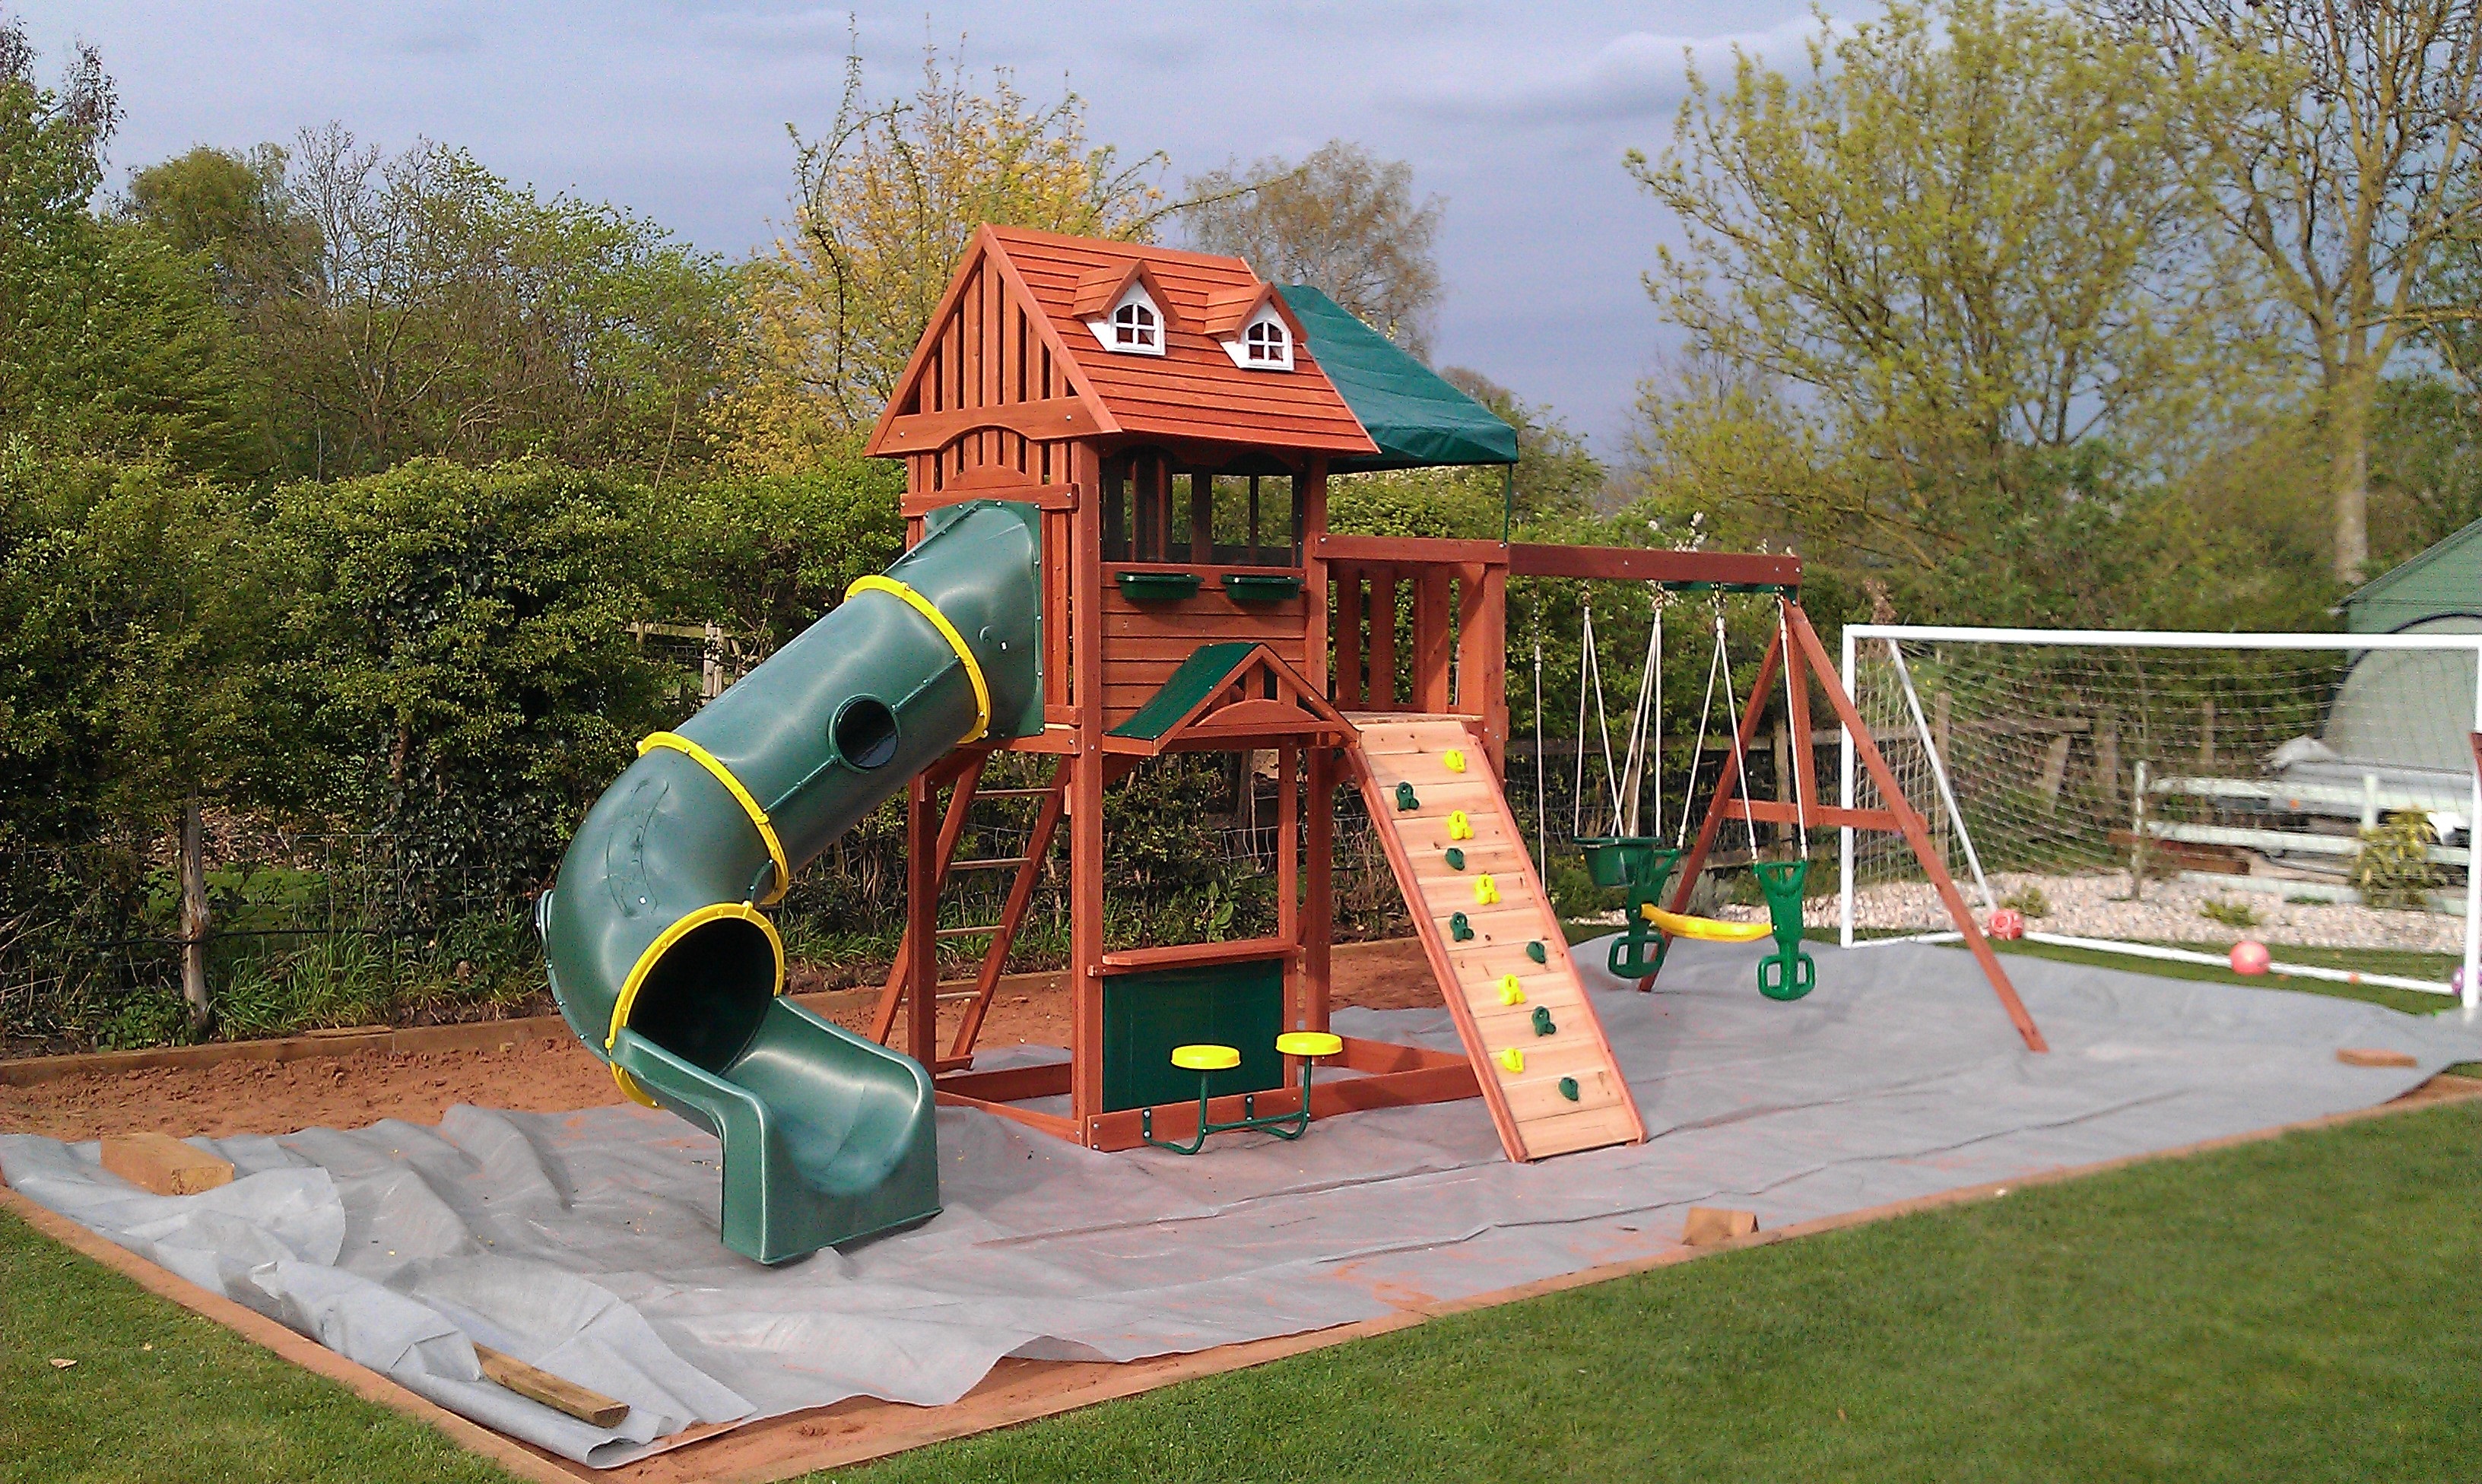

There’s a whole selection of climbing frames that come with various different styles and types of slides. Being one of the main differentiators between different sets, the slide can be a key feature when choosing which set to buy. Some of the types of slides available include the solid straight pre-formed slide, pre-formed wave slide, straight flat packed slide, open curved slide, open spiral slide, and enclosed tube slide.
Obviously affixing a pre-formed slide to your set is easier than building a flat packed slide, but the tube slide from Selwood Products has it’s benefits, it looks great and is very popular with children! The more you build the easier gets, however, I would expect the majority would only build it once so below I’ve passed on some handy tips we’ve discovered when building these sets.
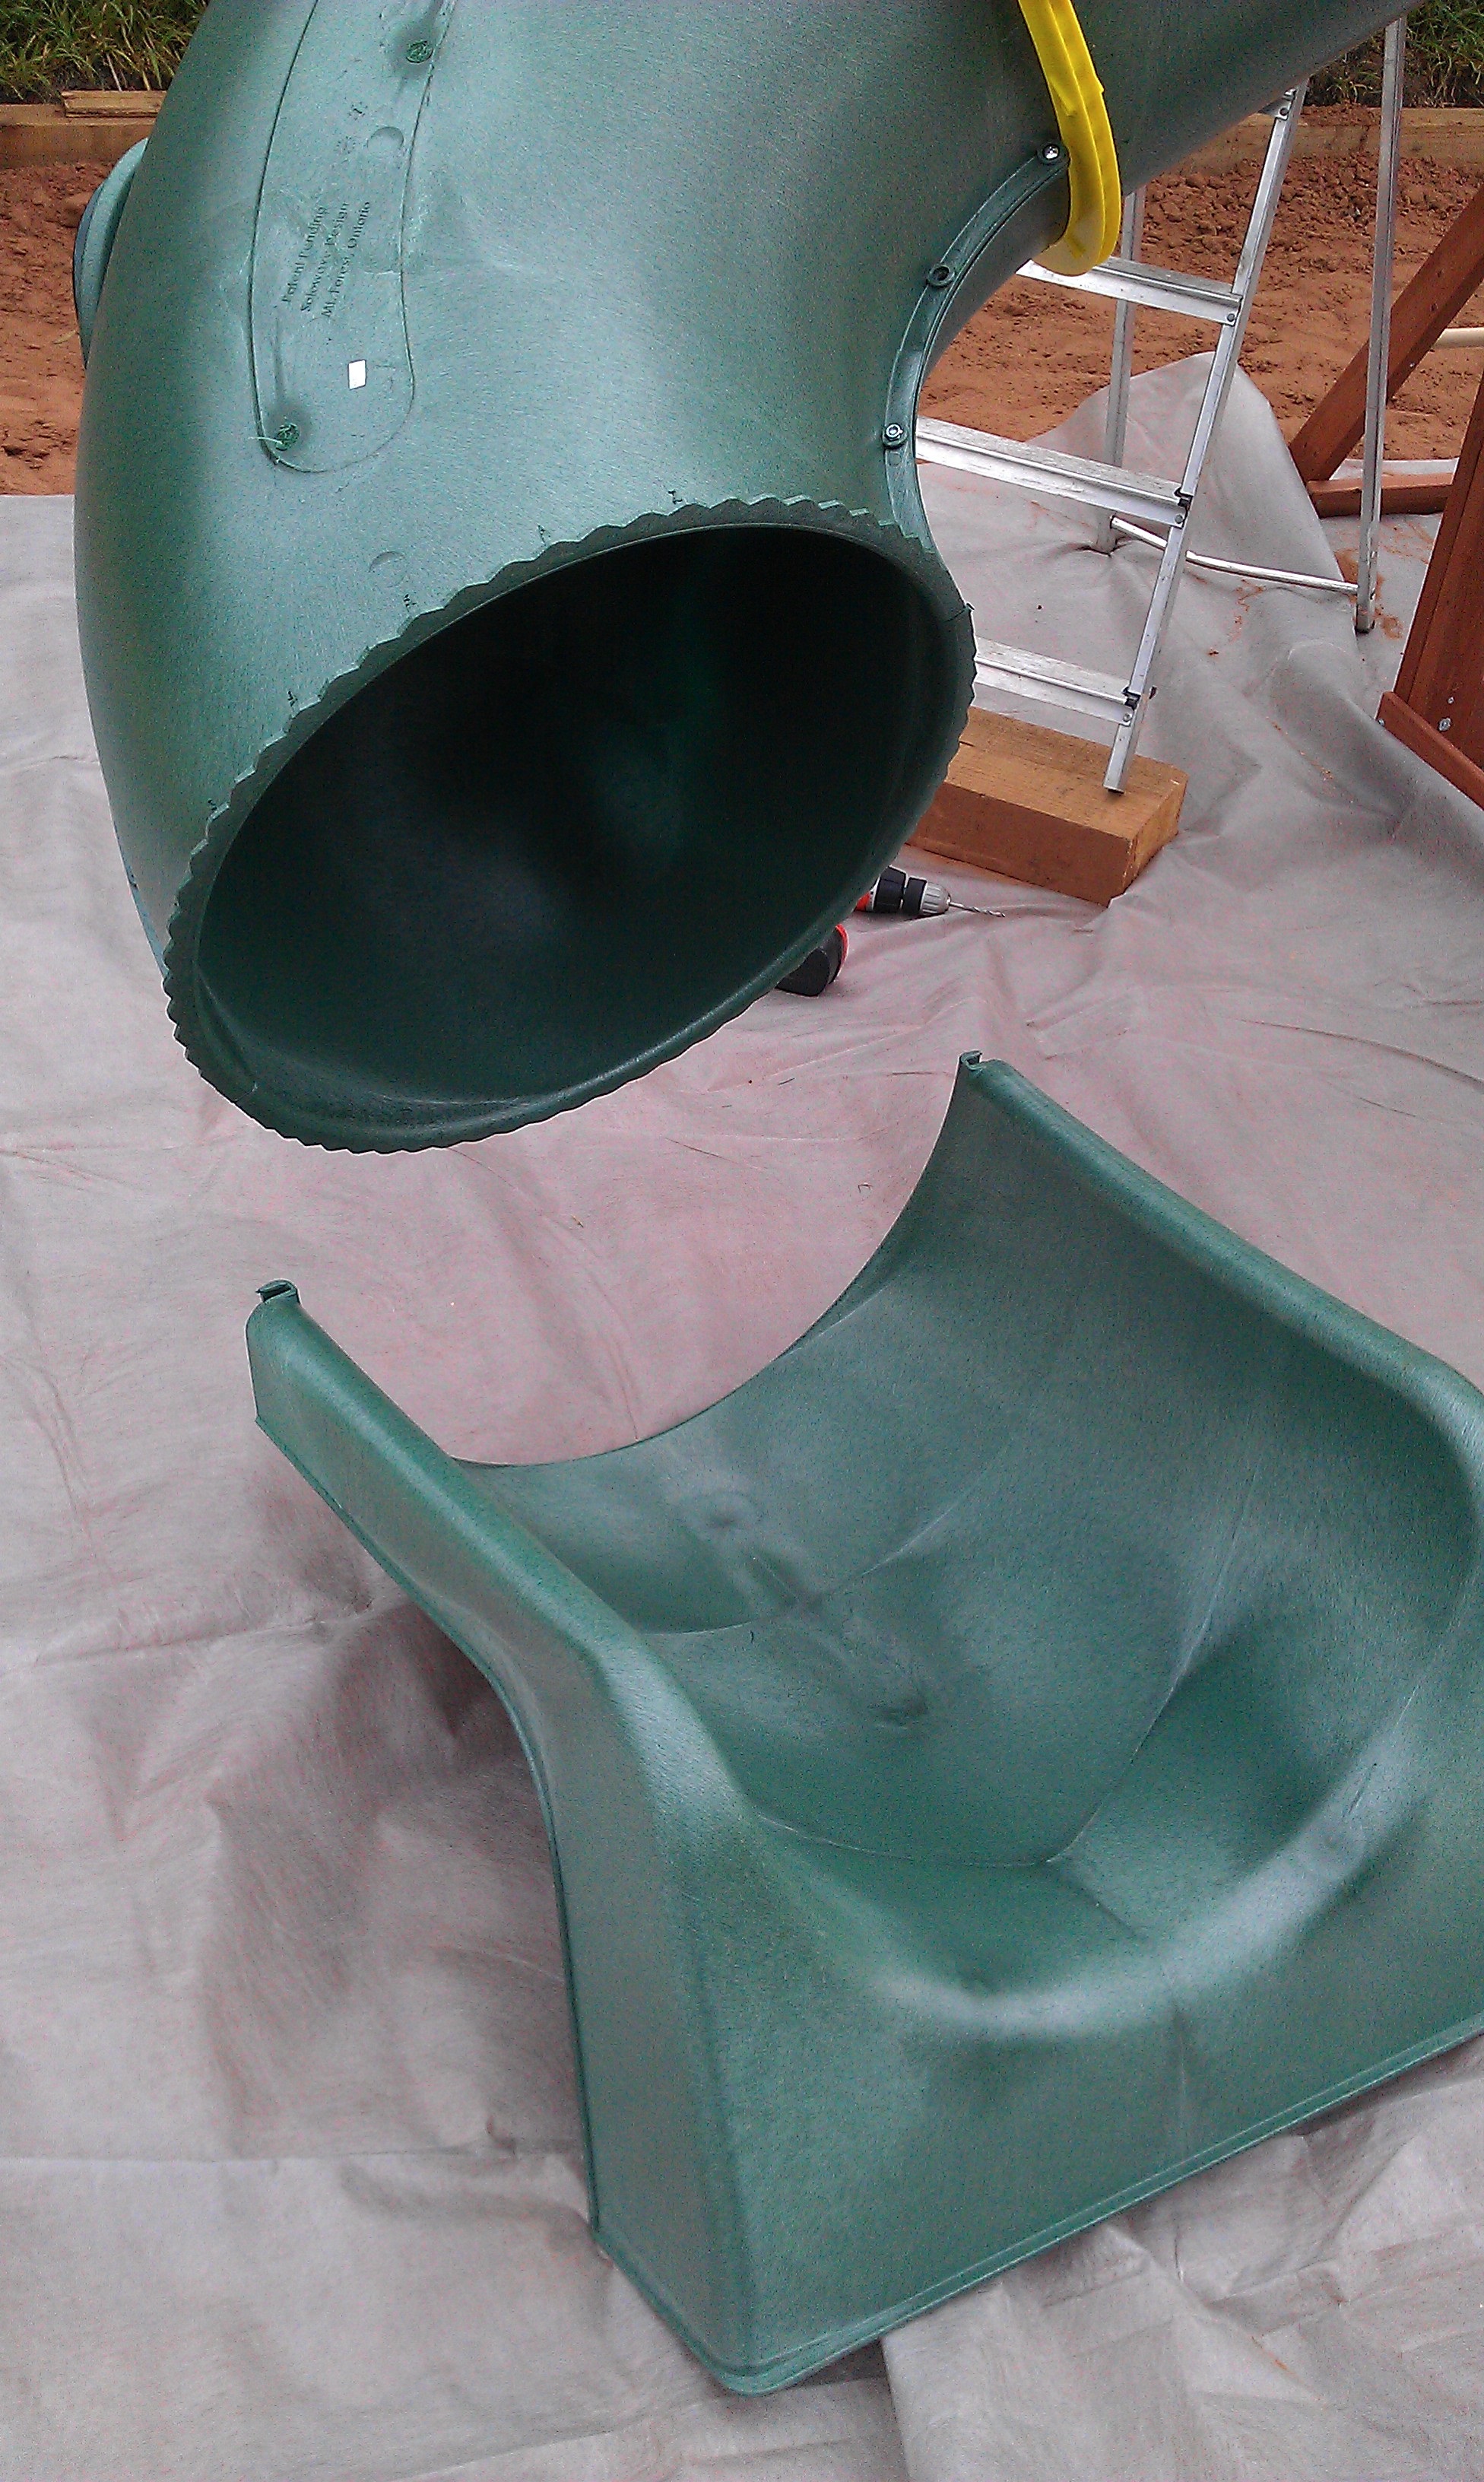
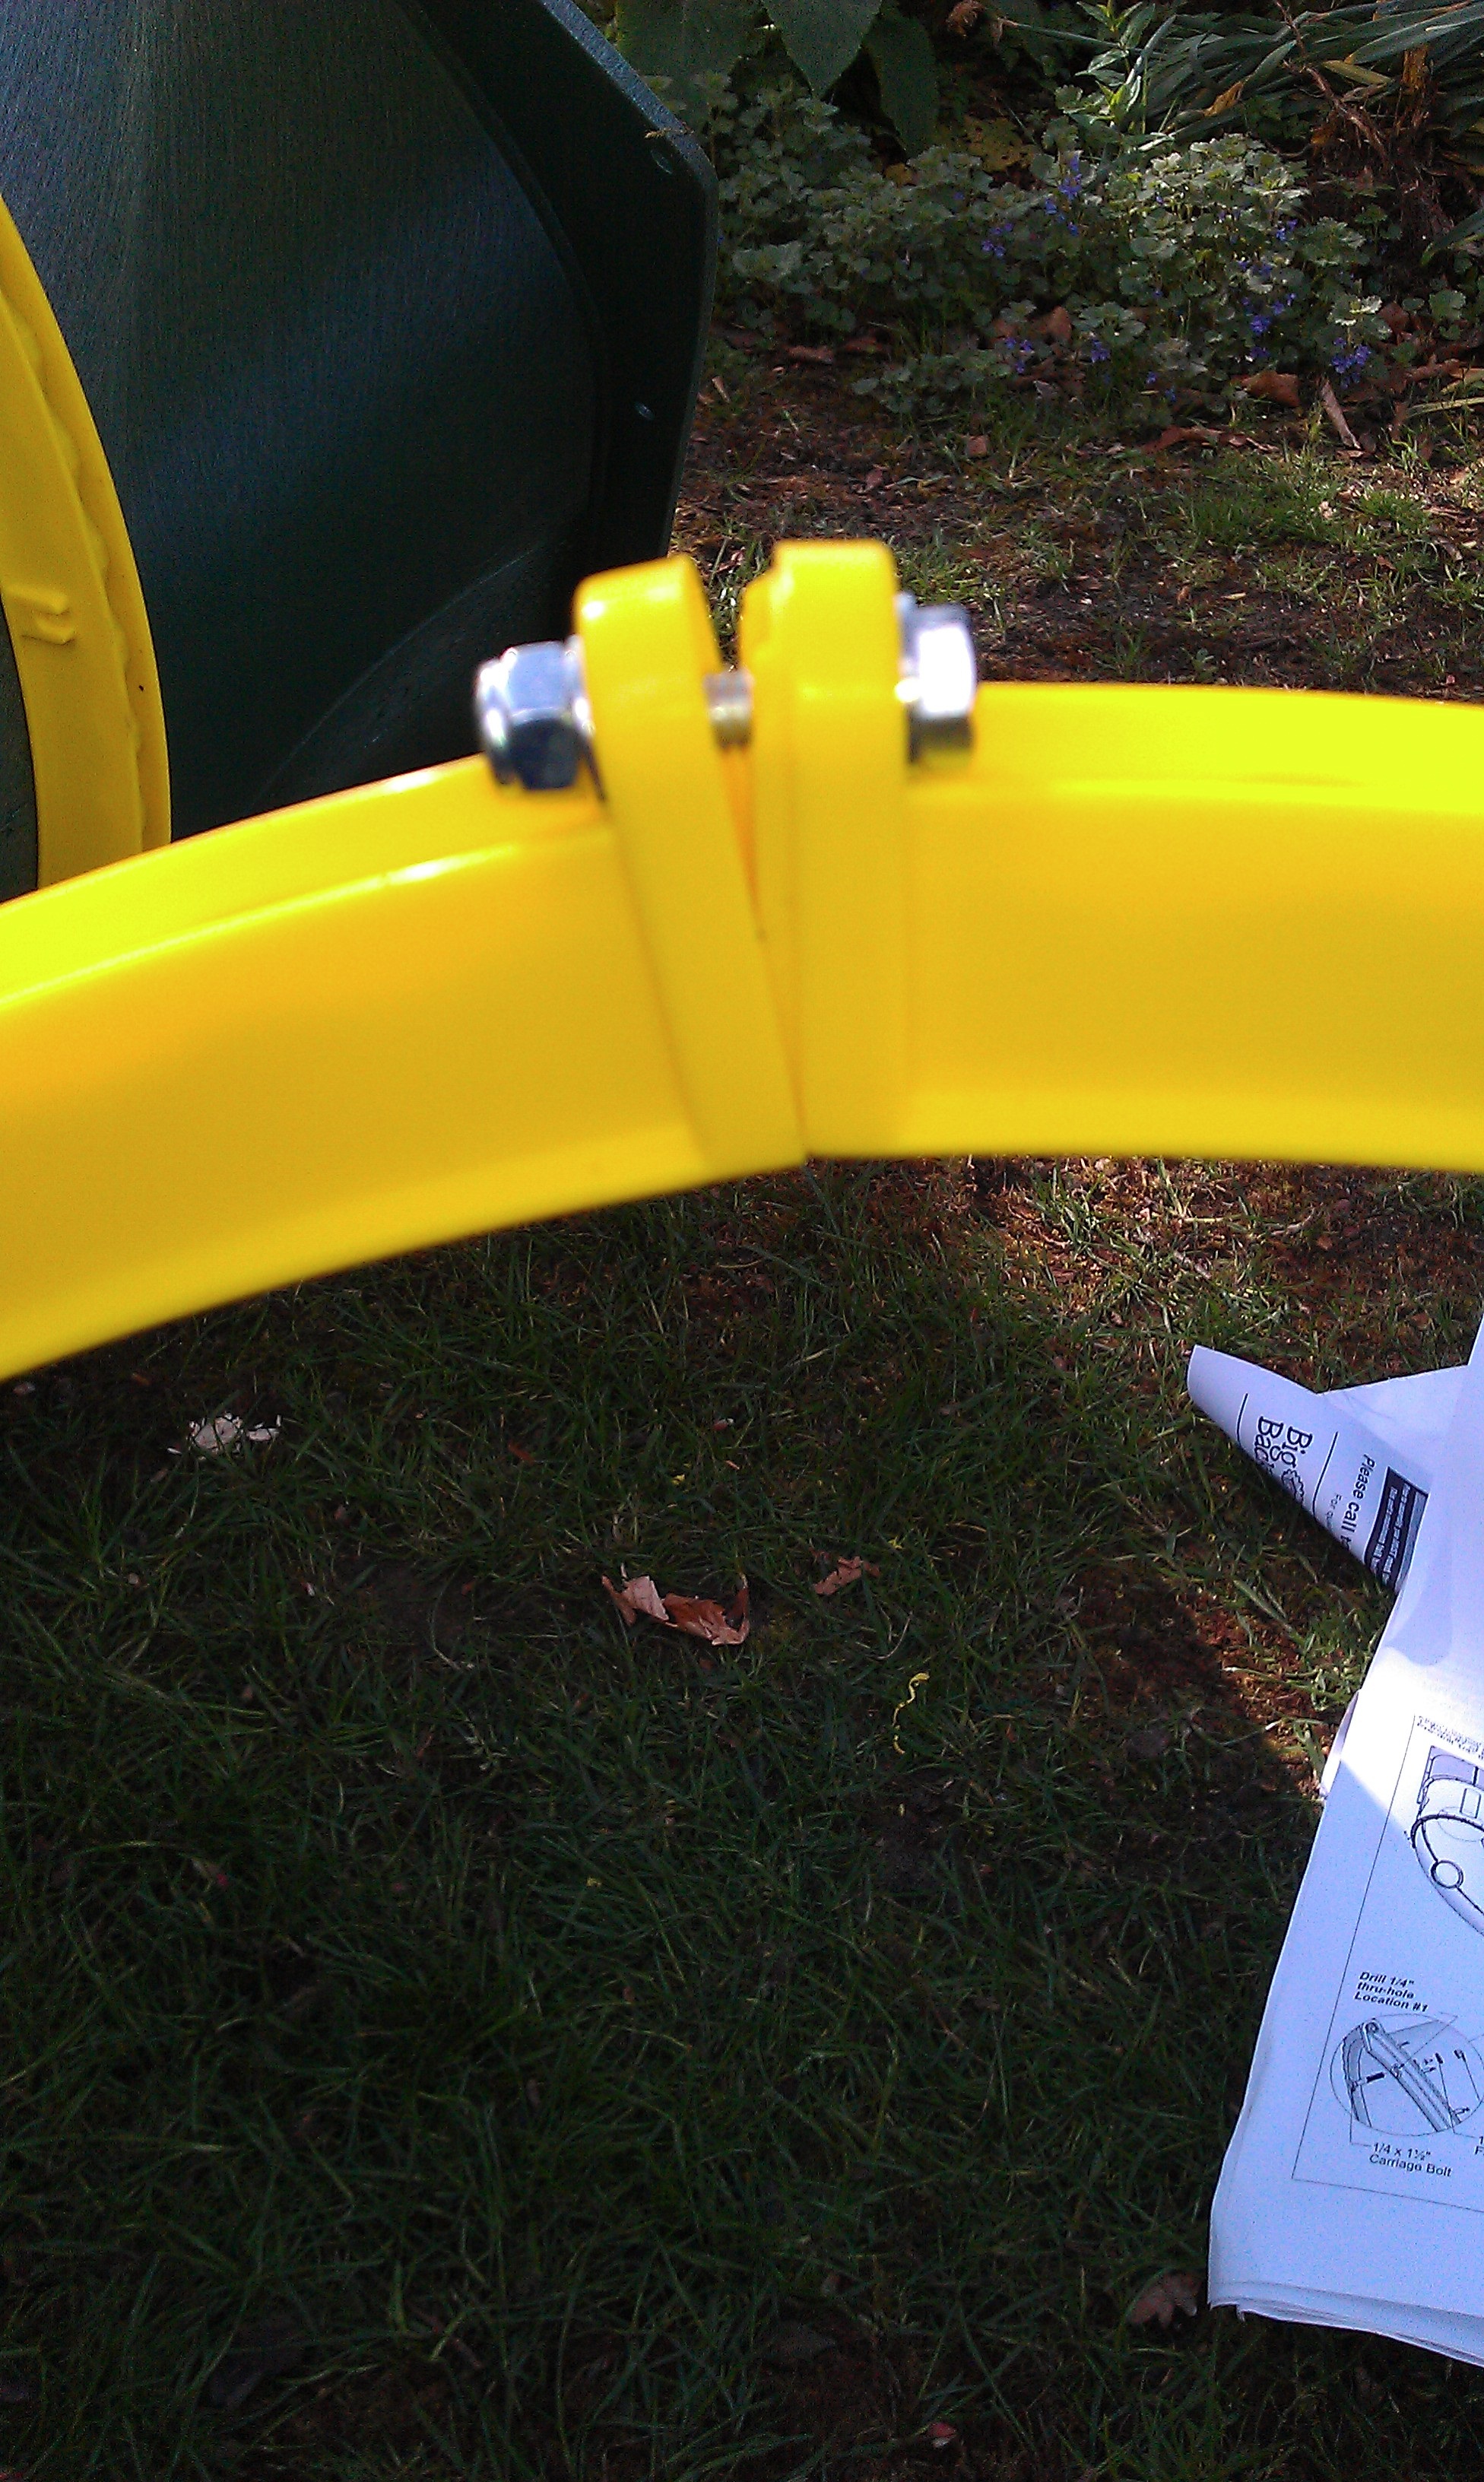
The instructions recommend to fit this slide and build it bit by bit coming off the playset, or the alternative option some may find useful is to pre-make it on the ground before attaching it to the frame;The choice is yours. Firstly, we’d suggest building the yellow grippers (or joints), leaving one bolt out, so they’re ready and easy to fit them later – this will save you time. Then link all of the slide sections together to form the tube, remember to get the twist as the instructions say putting the alignment of the numbers 5-7 perfect. Make sure you follow the instructions with the alignment and ensure there’s a twist in the slide, if not then it’ll not touch the floor and be unsafe to use.
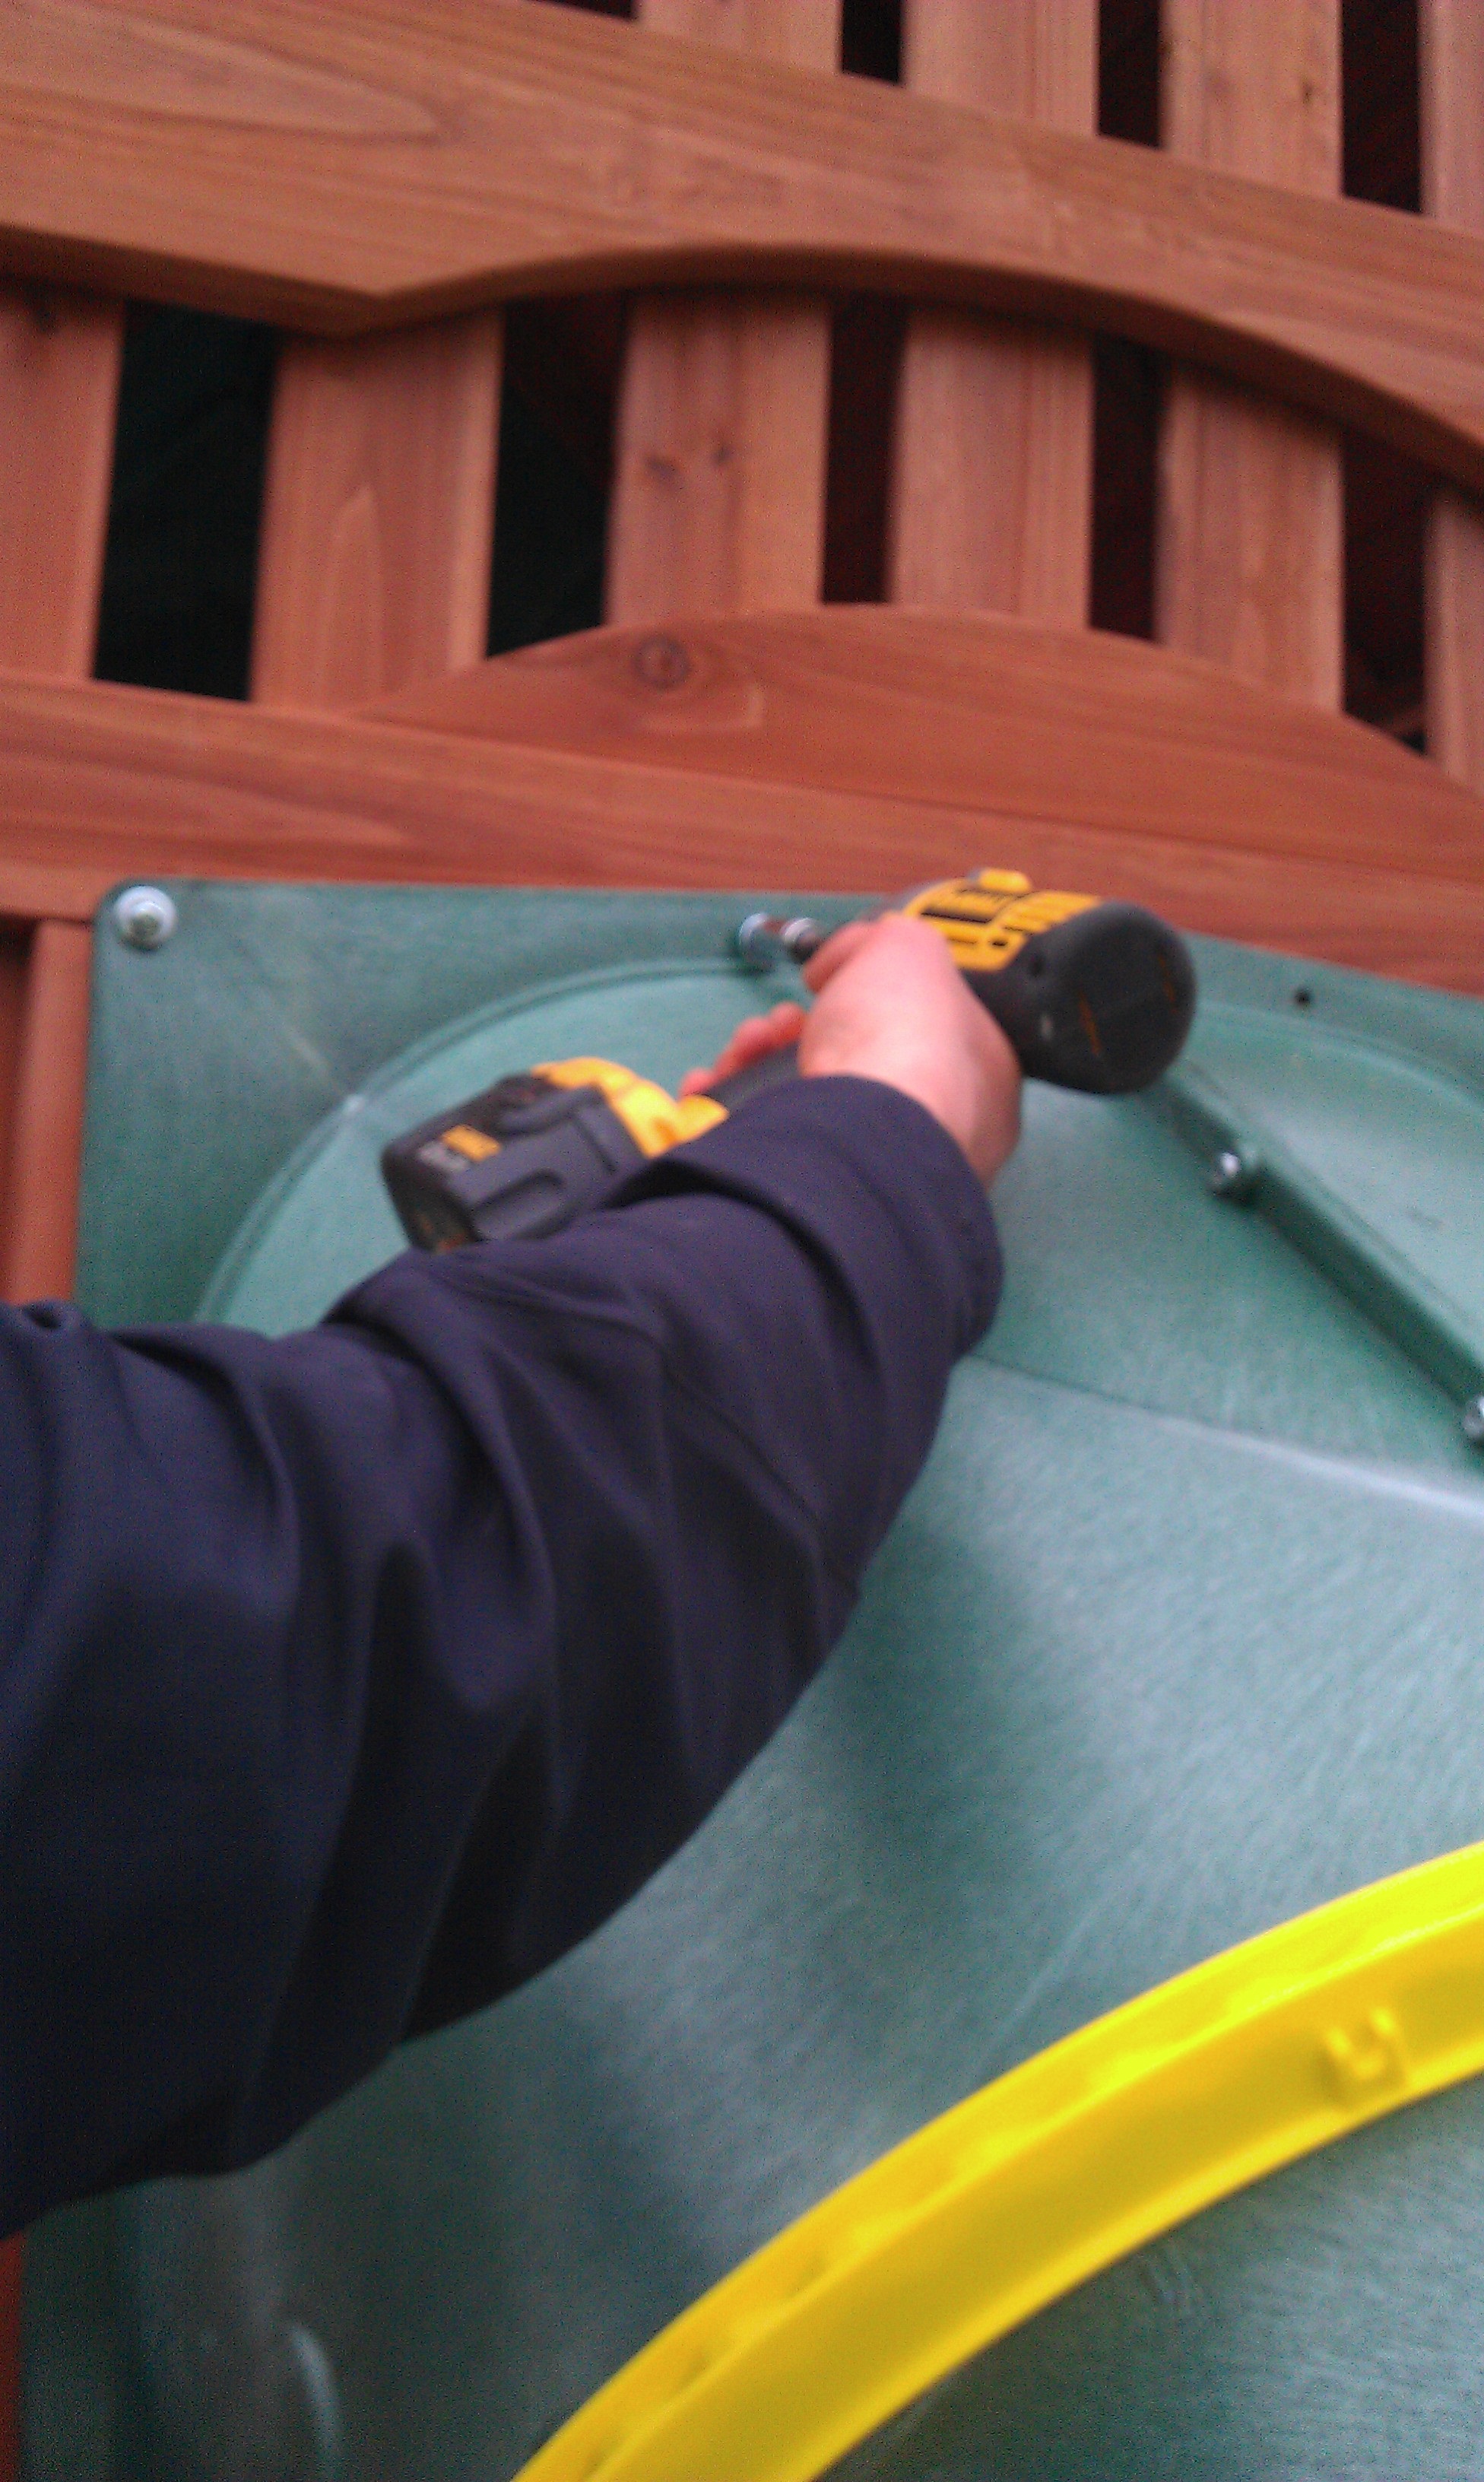
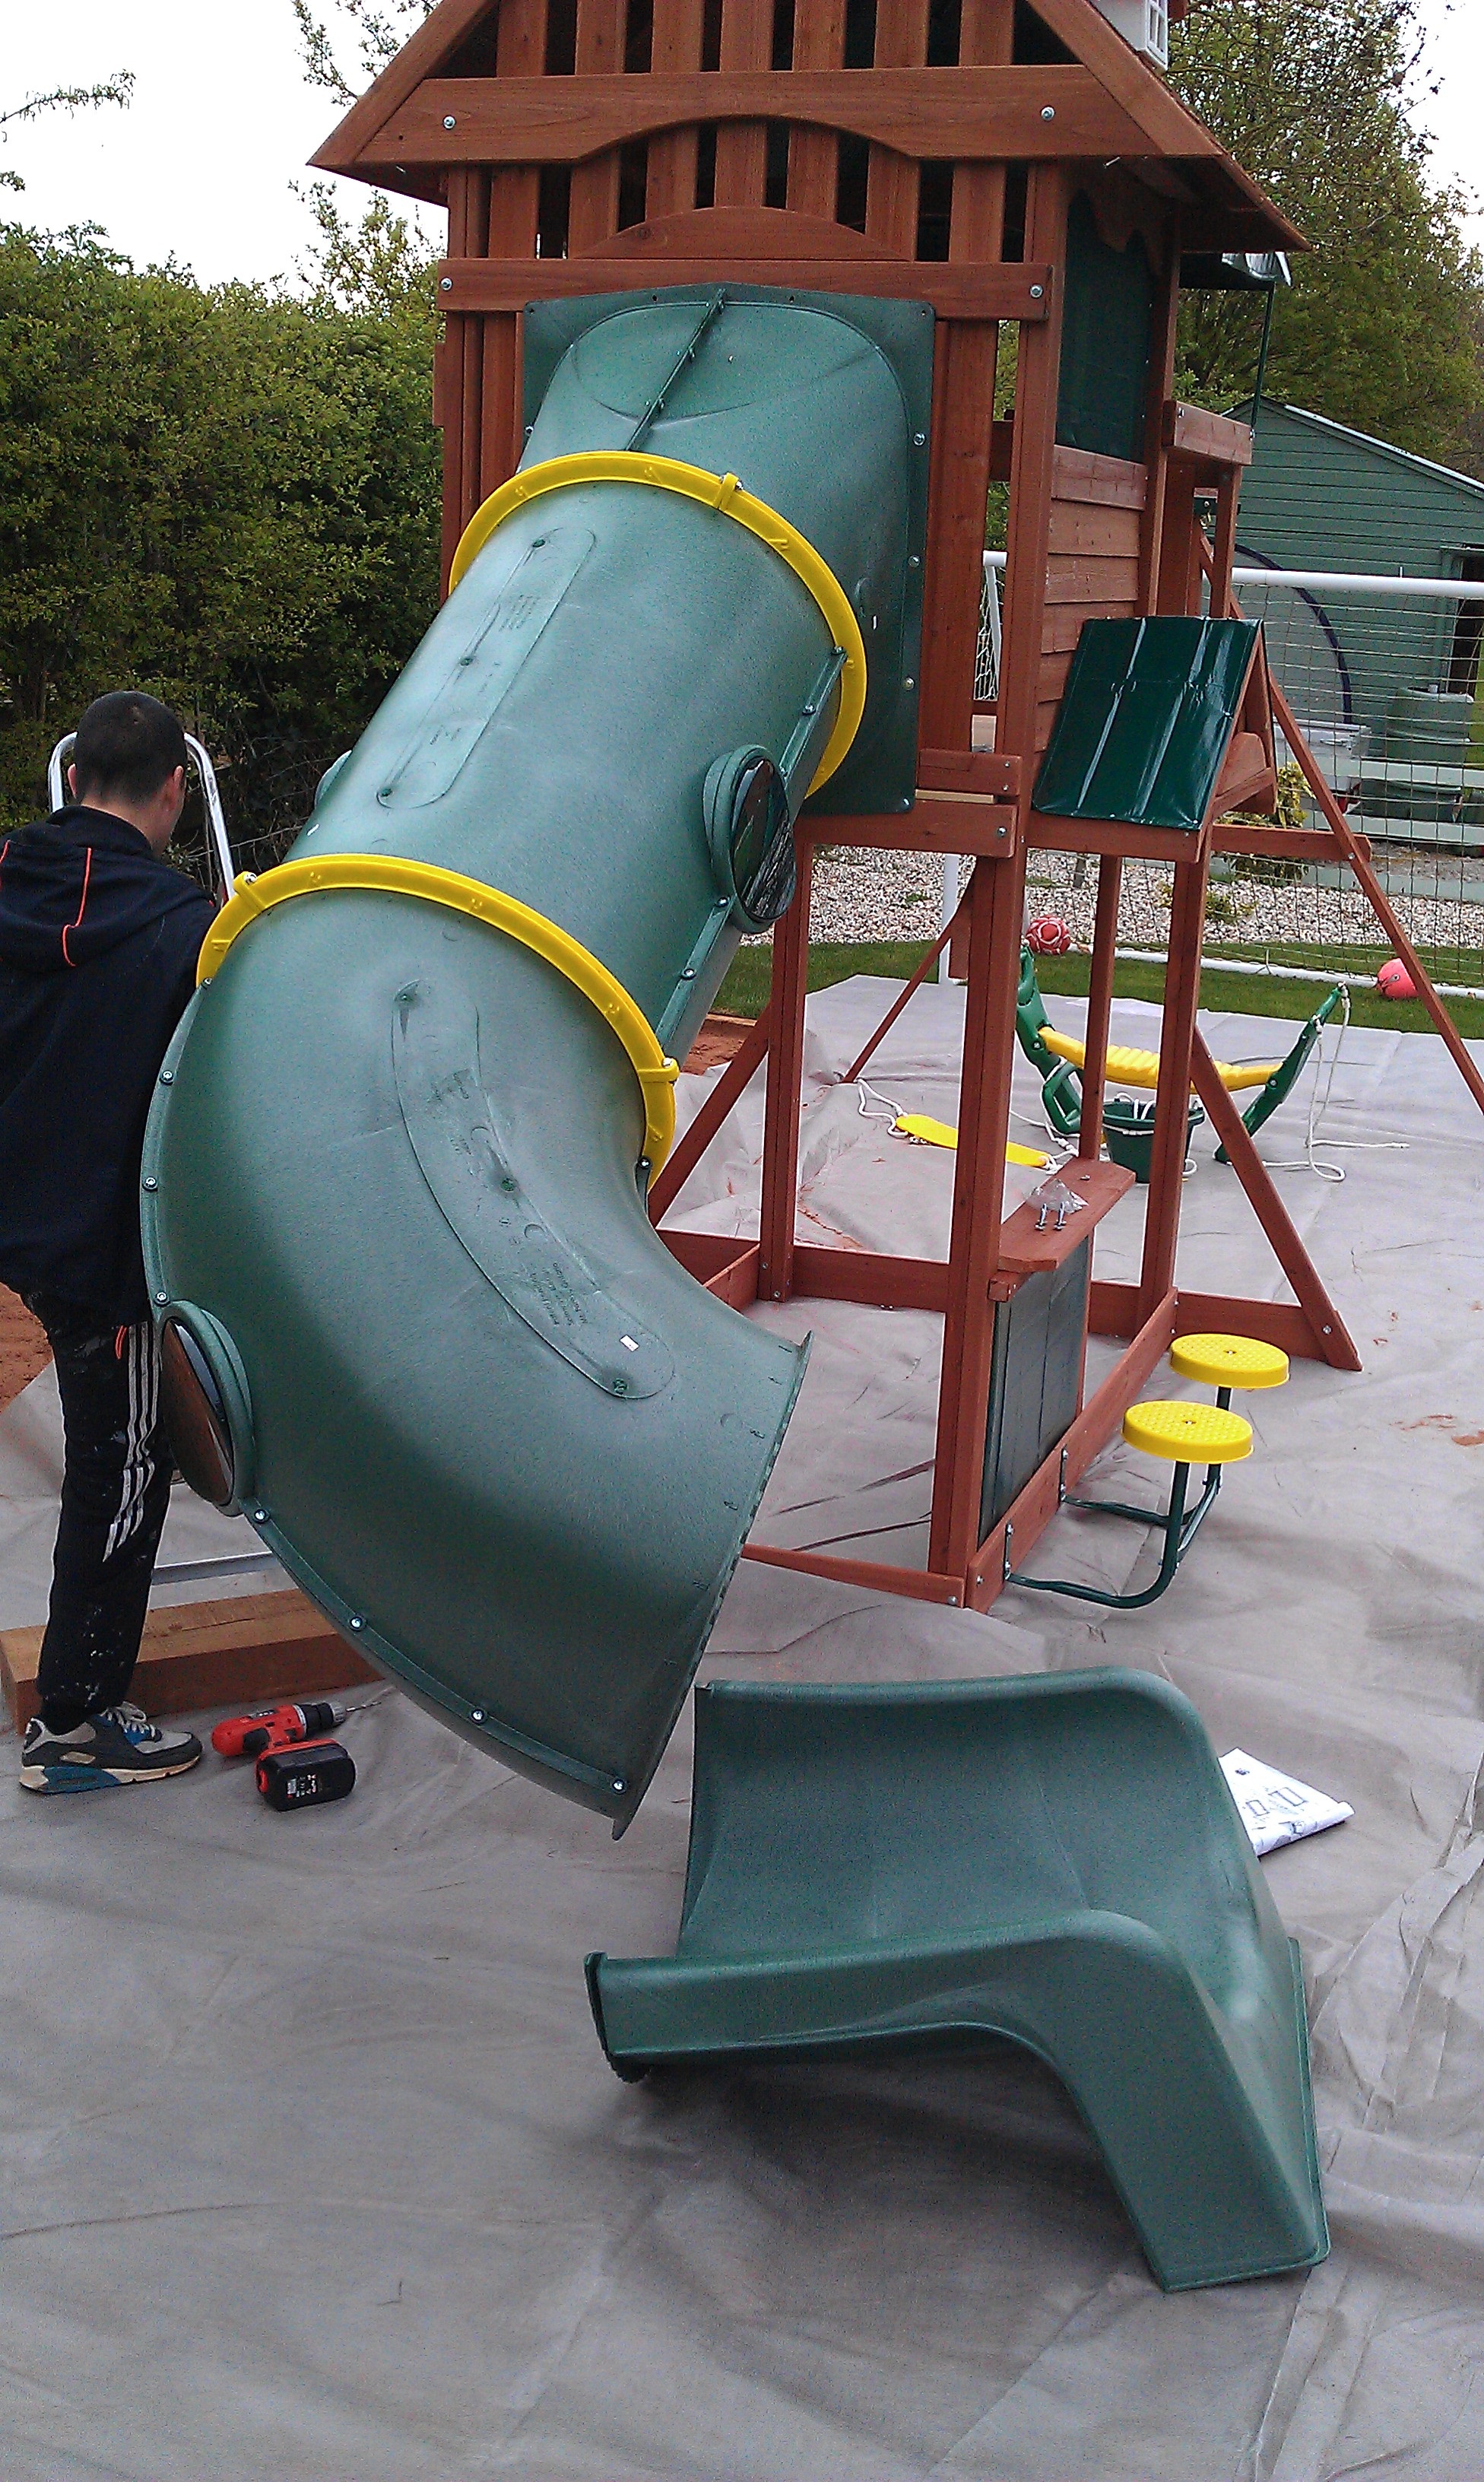
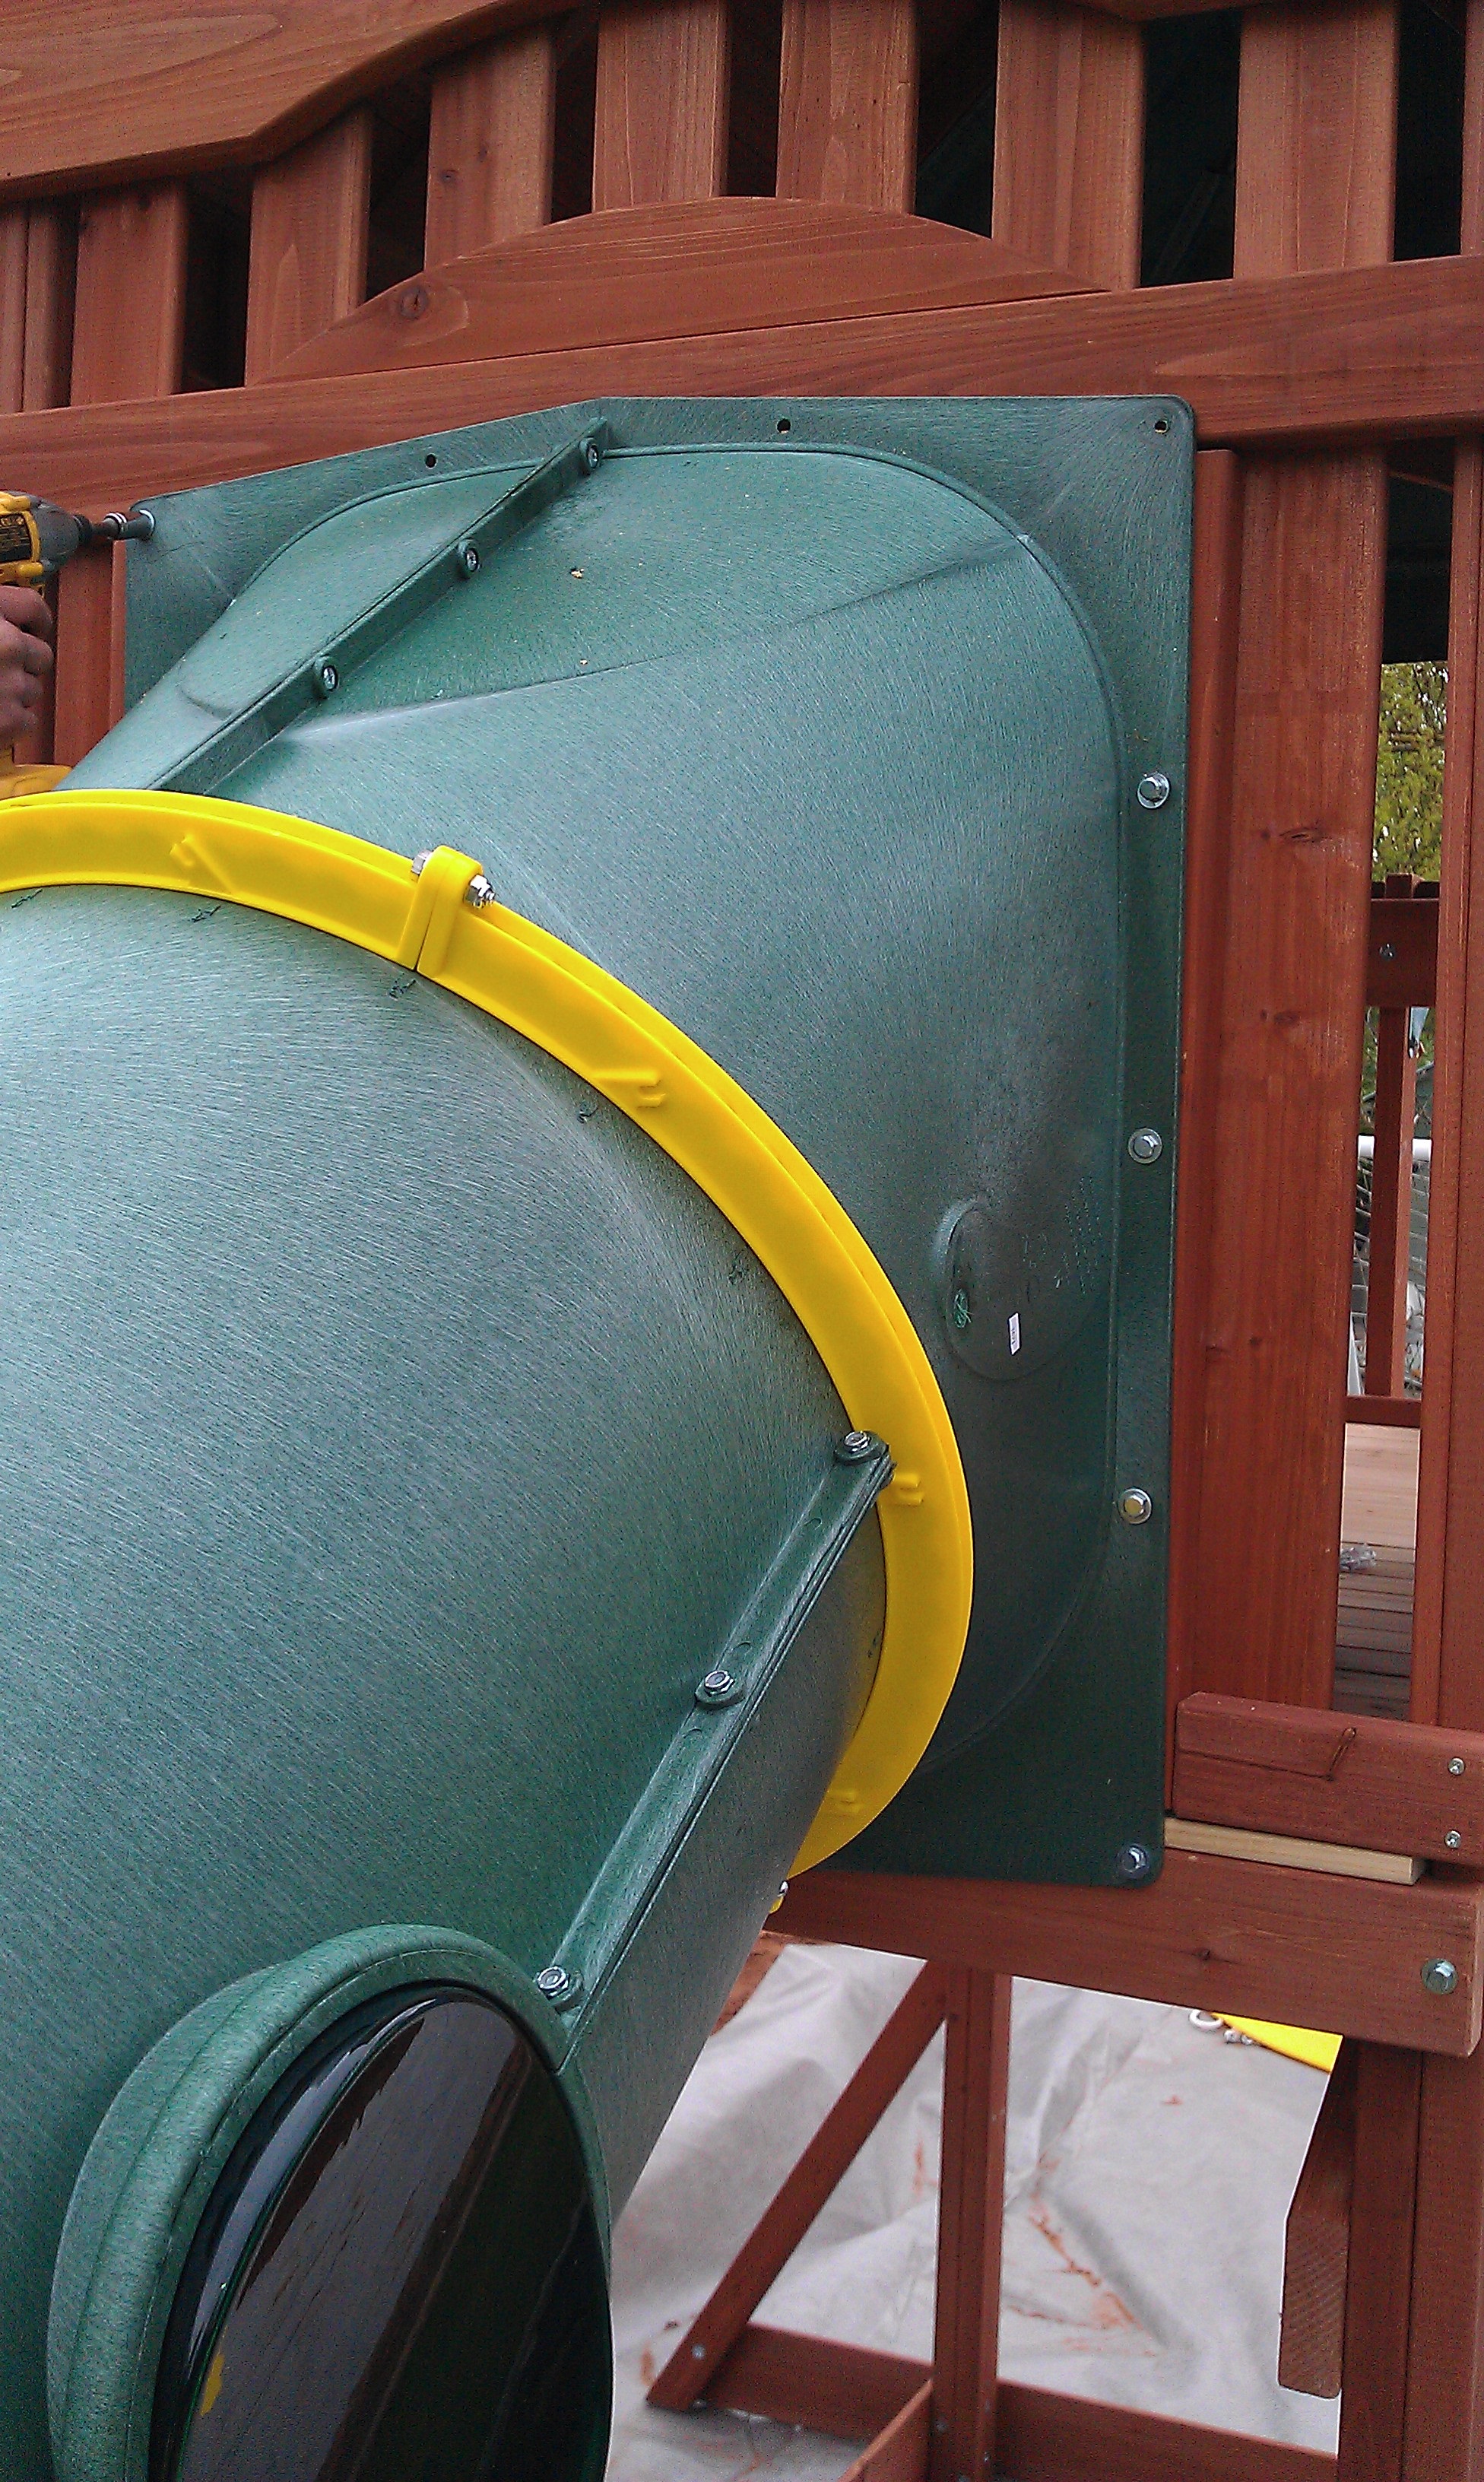
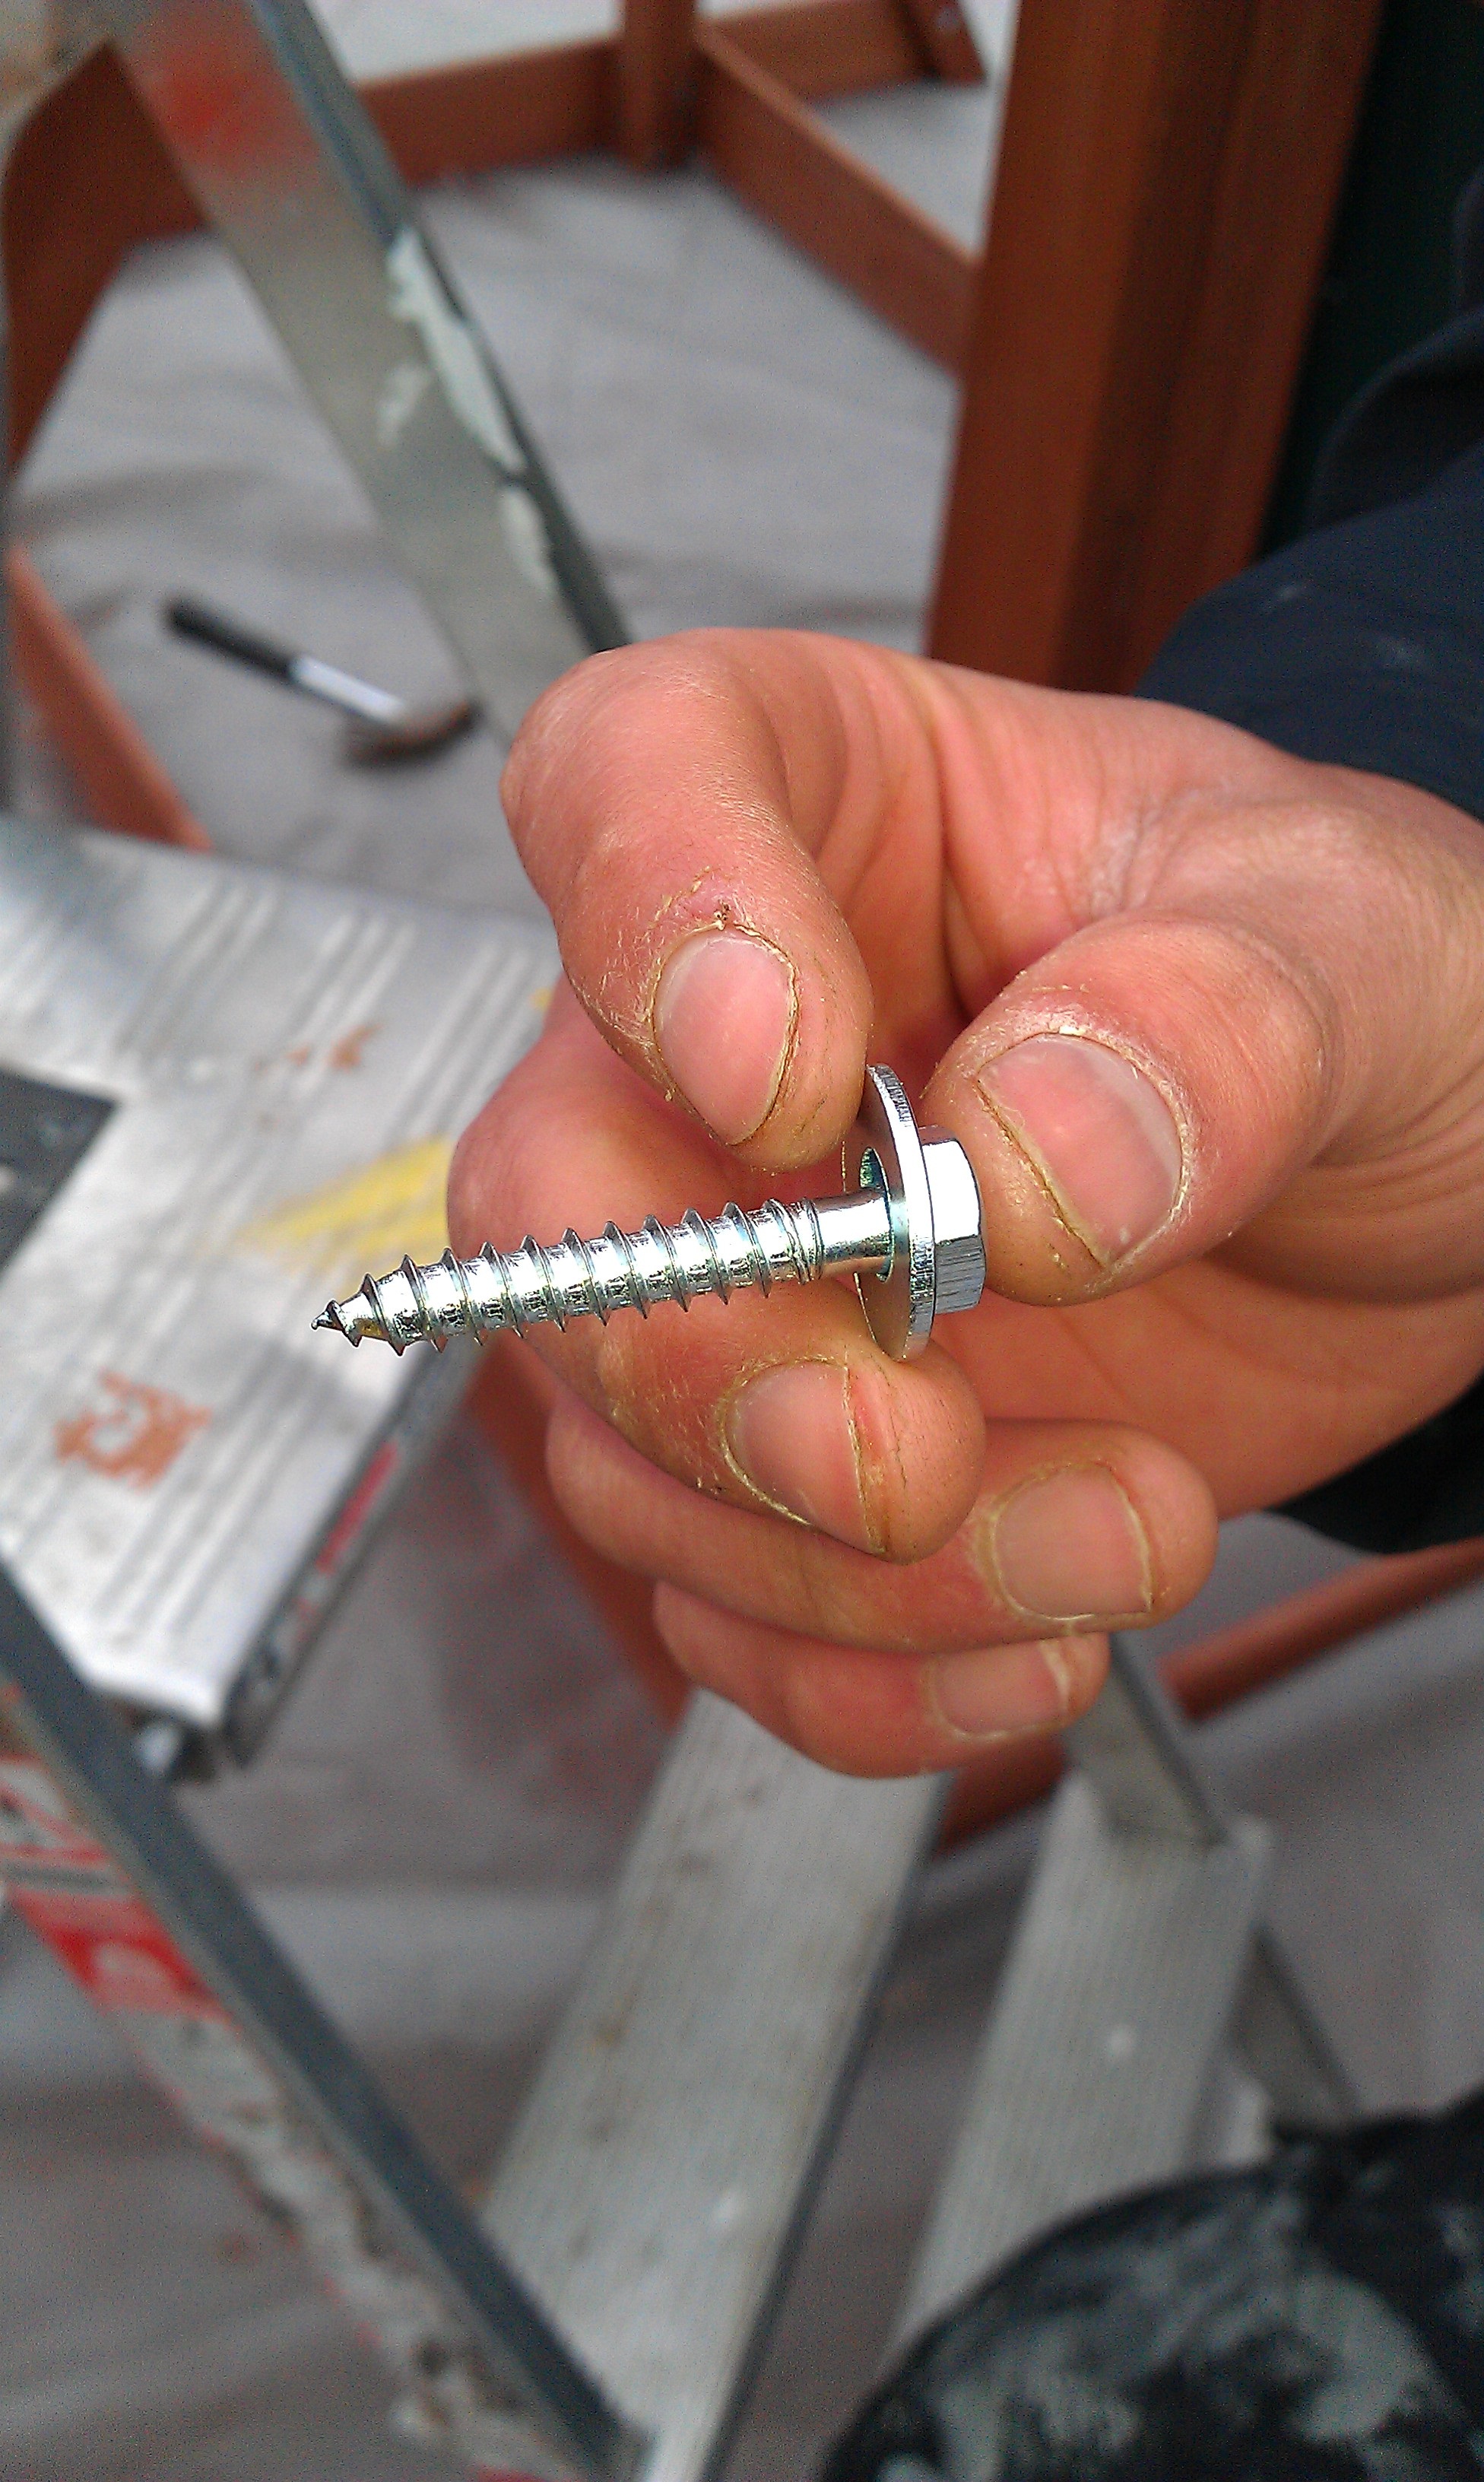
Once you have the main bulk of the tube built get the lag screws ready to fit the tube slide to the climbing frame. In an ideal world you’d have three people at this stage, two is also fine but not quite as quick, but you’ll not be able to do it on your own. One person will need to hold the slide in place whilst the other pre-drills and screws the lags in to fit the slide to the climbing frame.
Once attached at the top you may need to fine-tune the angle of the three slide sections to ensure the bottom sits comfortably on the ground enabling the load weight of children sliding down to be dissipated evenly. When the bottom fits first time its fantastic, however if it doesn’t don’t panic, you can loosen the yellow joiners and twist the tube section inside the joining sections around slightly so its angled at the ground a little more.
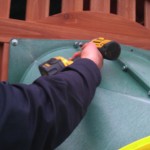
Finally you’ll need to tighten, drill and screw the slide joints to ensure it’s secured. Please make sure when you drill the yellow joint attachments to the slide tubes themselves to make sure you drill through and the bolt holds all three pieces of plastic. If you don’t drill through all three the slide will only be supported by the yellow brace and will not be full strength.
If you’re in doubt then contact us at Climbing Frame Installer and we will be happy to quote an install price for your Selwood Climbing Frame play set.